If you’re looking to wire a 30 Amp RV breaker box but aren’t sure where to start, you’ve come to the right place. In this article, we’ll walk you through the process step by step so you can get your RV up and running in no time.
Whether you’re a seasoned DIY enthusiast or a newbie when it comes to electrical work, don’t worry – we’ll break it down in simple terms that anyone can understand. So grab your tools and let’s get started!

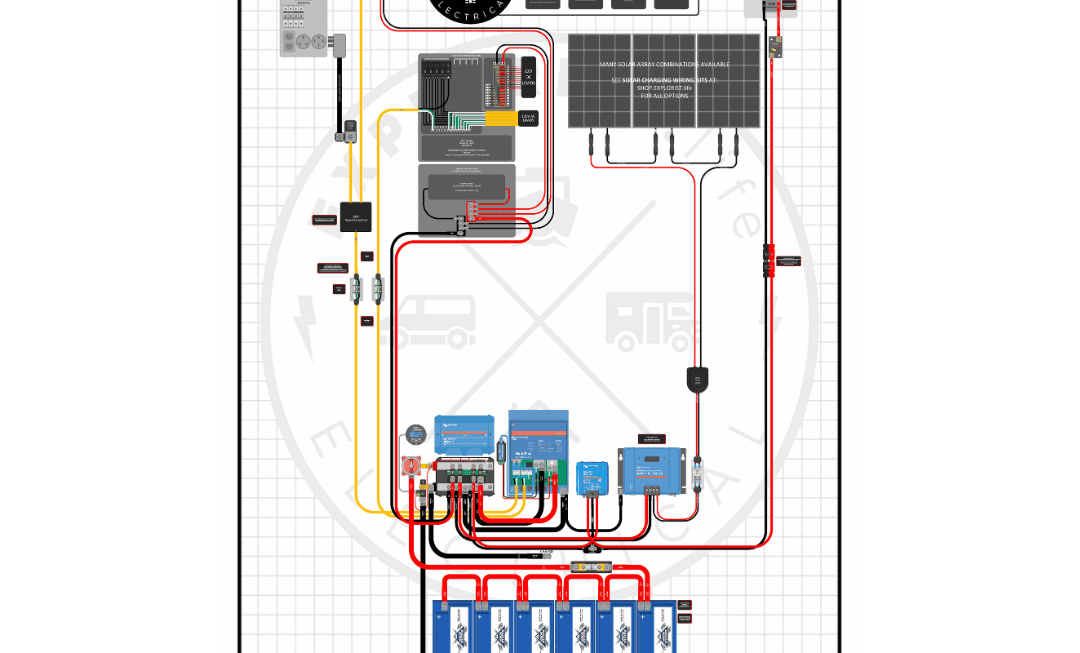
Related Post Outlet And Switch Wiring Diagram
Next, you’ll want to shut off the power to your RV to avoid any accidents. Once the power is off, you can begin connecting the wires to the breaker box according to the wiring diagram provided. Make sure to double-check your connections to ensure everything is secure.
After you’ve connected all the wires, you can carefully turn the power back on and test your RV’s electrical system to make sure everything is working correctly. If you encounter any issues, double-check your connections and consult the wiring diagram for guidance.
Once you’ve confirmed that everything is working properly, you can tidy up the wires inside the breaker box and secure the cover in place. Congratulations – you’ve successfully wired your 30 Amp RV breaker box! Now you can enjoy all the comforts of home while on the road.
In conclusion, wiring a 30 Amp RV breaker box may seem daunting at first, but with the right tools and a little know-how, it’s a manageable DIY project that anyone can tackle. Just remember to follow the wiring diagram carefully and take your time to ensure a safe and successful installation.
Download and Print 30 Amp Rv Breaker Box Wiring Diagram Listed below