If you’re looking to upgrade your car’s audio system, installing an aftermarket stereo can make a big difference in sound quality. But before you dive into the installation process, it’s important to understand how to properly wire your new stereo with a wiring harness.
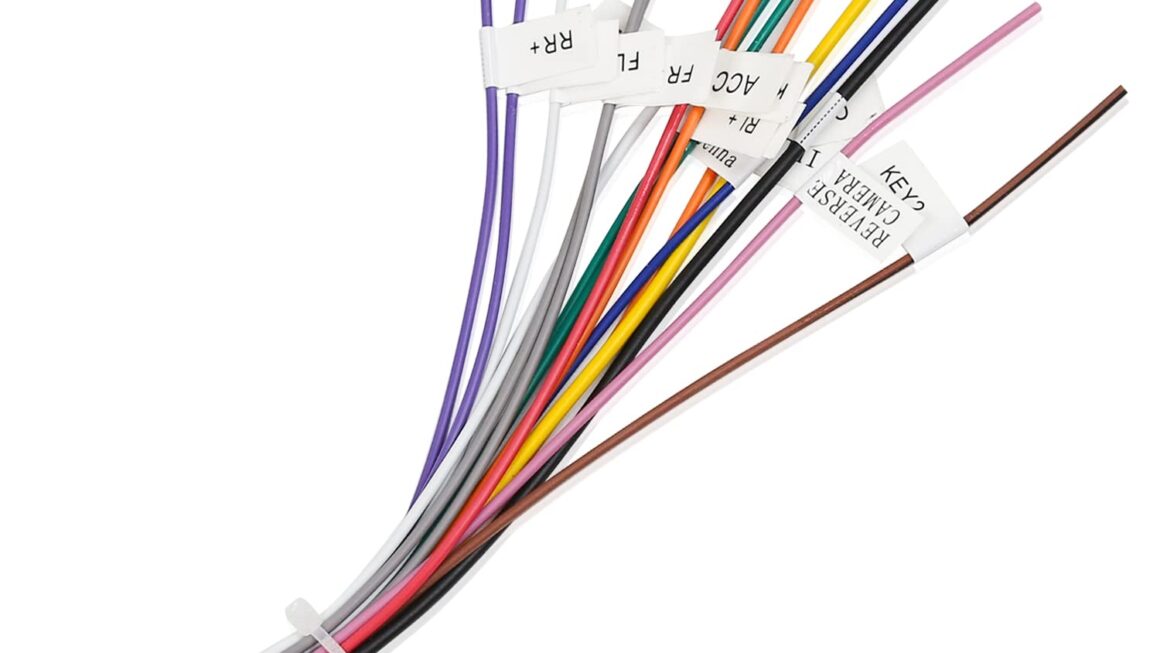
By using an aftermarket stereo wiring harness diagram, you can easily connect the wires from your new stereo to the existing wiring in your car. This diagram provides a visual guide to help you match up the correct wire colors and connections, making the installation process much simpler.

Related Post Basic Wiring Diagram For Light Switch
Most aftermarket stereo wiring harness diagrams will include color-coded wires that correspond to specific functions, such as power, ground, speaker wires, and more. This makes it easy to identify which wires need to be connected to each other, saving you time and frustration during the installation process.
Whether you’re a seasoned car audio enthusiast or a beginner looking to upgrade your sound system, using a wiring harness diagram can help simplify the installation process and ensure that your new stereo is properly connected. With the right tools and a bit of patience, you can enjoy a high-quality audio experience in your car in no time.
So, before you start ripping out your old stereo and diving into the world of aftermarket car audio, be sure to grab a wiring harness diagram to guide you through the installation process. With a little bit of know-how and the right tools, you’ll be enjoying crisp, clear sound in your car in no time.
Download and Print Aftermarket Stereo Wiring Harness Diagram Listed below