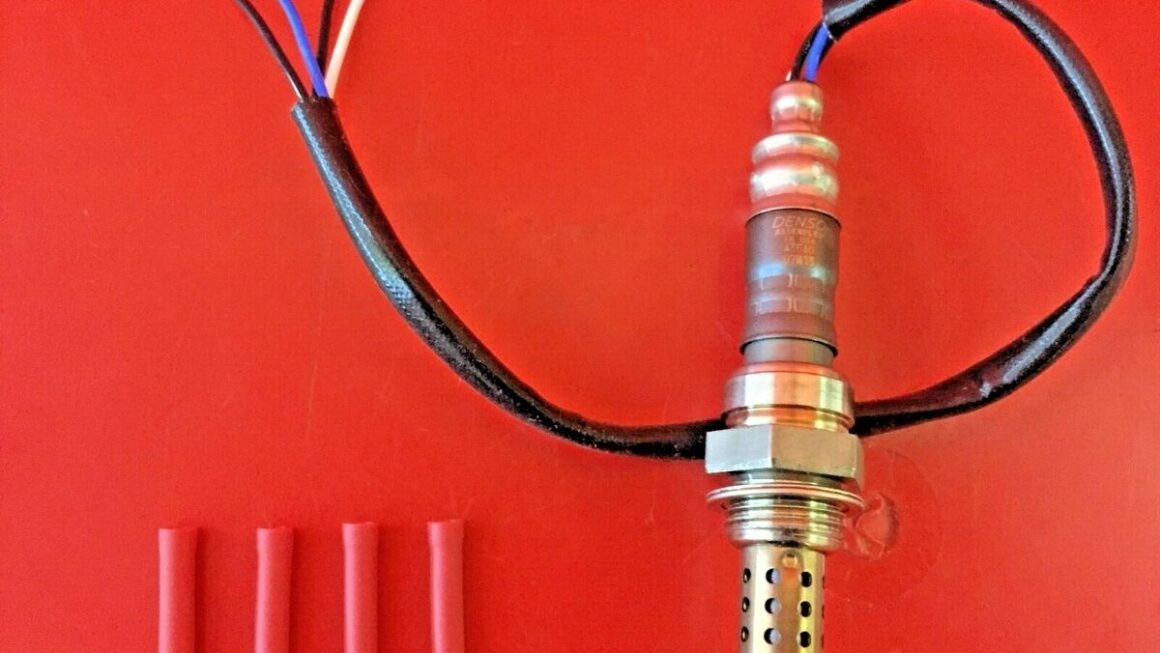
Looking to install a Denso 4 wire O2 sensor but not sure how to wire it up? You’ve come to the right place! In this article, we’ll walk you through the process step by step so you can get your sensor up and running in no time.
Before we dive into the wiring diagram, let’s take a quick look at what exactly an O2 sensor does. O2 sensors are a crucial component of your vehicle’s emissions system, as they measure the amount of oxygen in the exhaust gases to ensure optimal fuel efficiency.

Related Post Wiring Diagram For A 30 Amp Rv Plug
To wire up the sensor, simply connect the two white wires to a 12V power source, the black wire to a ground source, and the grey wire to the signal input on your ECU. Make sure to double-check the wiring diagram provided with your specific sensor to ensure everything is connected correctly.
Once you’ve got everything wired up, it’s a good idea to test the sensor to make sure it’s functioning properly. You can do this by using a multimeter to check the resistance of the heater circuit and the voltage output of the signal wire. If everything checks out, you’re good to go!
In conclusion, wiring up a Denso 4 wire O2 sensor is a straightforward process that can be done by anyone with a basic understanding of automotive electrical systems. By following the wiring diagram provided with your sensor and double-checking your connections, you can ensure that your sensor is working properly and helping to keep your vehicle running efficiently.
So there you have it – a simple guide to wiring up a Denso 4 wire O2 sensor. With a little bit of patience and attention to detail, you’ll have your sensor up and running in no time. Happy wiring!
Download and Print Denso 4 Wire O2 Sensor Wiring Diagram Listed below