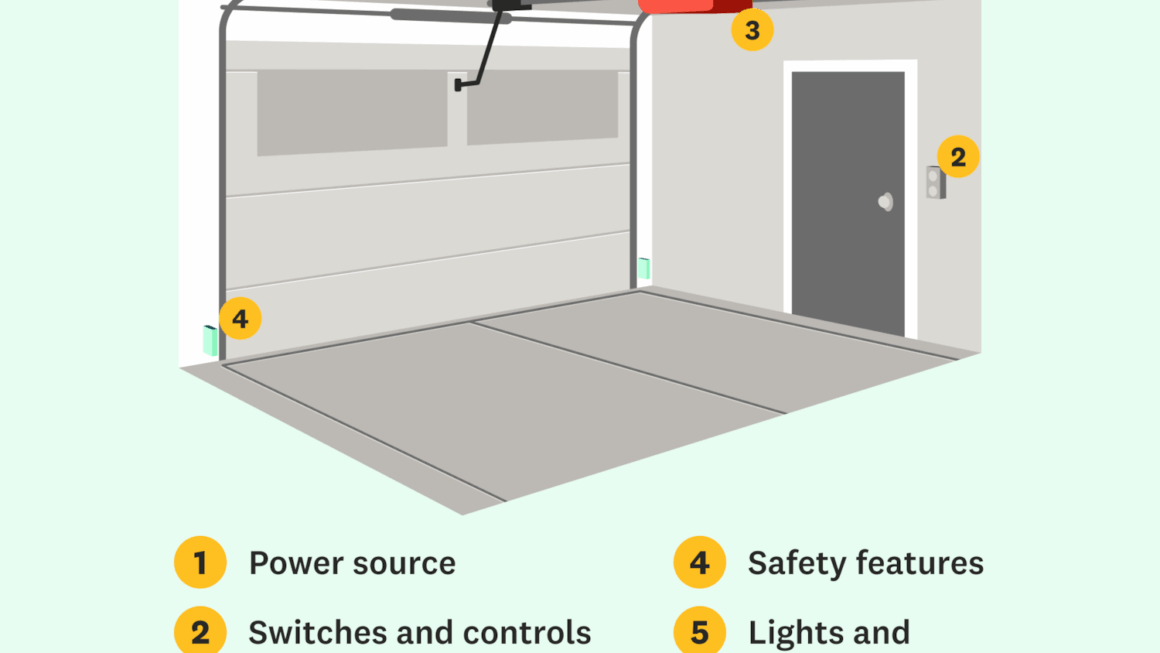
Are you having trouble with your garage door safety sensor wiring? It can be frustrating when your garage door isn’t working properly, but don’t worry, we’re here to help!
Ensuring that your garage door safety sensor wiring is installed correctly is crucial for the safety of you and your family. In this article, we’ll provide you with a detailed garage door safety sensor wiring diagram to help you troubleshoot any issues you may be experiencing.

Related Post Wiring Electric Fan Relay Diagram
Once the power is turned off, locate the safety sensor wires on both sides of your garage door. These wires are typically color-coded, with one wire being black or white, and the other wire being either red or green.
Next, you’ll need to connect the corresponding wires from each sensor to the matching terminals on your garage door opener. Make sure to double-check that the connections are secure and tight to prevent any loose wiring.
After the wiring is properly connected, turn the power back on and test your garage door to ensure that the safety sensors are working correctly. If the door still isn’t functioning properly, you may need to consult a professional for further assistance.
By following this garage door safety sensor wiring diagram, you can ensure that your garage door operates safely and efficiently. Remember, safety should always be your top priority when working on any electrical components.
Don’t hesitate to reach out to a professional if you’re unsure about any steps in the wiring process. It’s better to be safe than sorry when it comes to the safety of your garage door and your family.
Download and Print Garage Door Safety Sensor Wiring Diagram Listed below