If you’re looking to upgrade your Honda Civic’s stereo system, you’ve come to the right place! Installing a new stereo in your car can be a fun and rewarding project that will enhance your driving experience.
One of the first steps in installing a new stereo is to find a wiring diagram specific to your Honda Civic model. A wiring diagram will show you the color-coding of the wires and help you connect the new stereo correctly.

Related Post 12V Solar Panel Wiring Diagram
Before starting the installation process, it’s important to disconnect the negative terminal of your car’s battery to prevent any electrical mishaps. Once the battery is disconnected, you can begin removing the old stereo unit from your Civic’s dashboard.
Next, you’ll need to match the wires from the new stereo to the corresponding wires in the Honda Civic stereo wiring diagram. This step is crucial to ensure that the stereo functions properly and that all the speakers are connected correctly.
Once all the wires are connected according to the wiring diagram, you can test the stereo to make sure everything is working as it should. If the stereo functions properly, you can then secure it in place and reassemble your Civic’s dashboard.
In conclusion, installing a new stereo in your Honda Civic can be a rewarding DIY project that enhances your driving experience. By following a Honda Civic stereo wiring diagram specific to your vehicle, you can ensure a successful installation and enjoy your favorite tunes on the road!
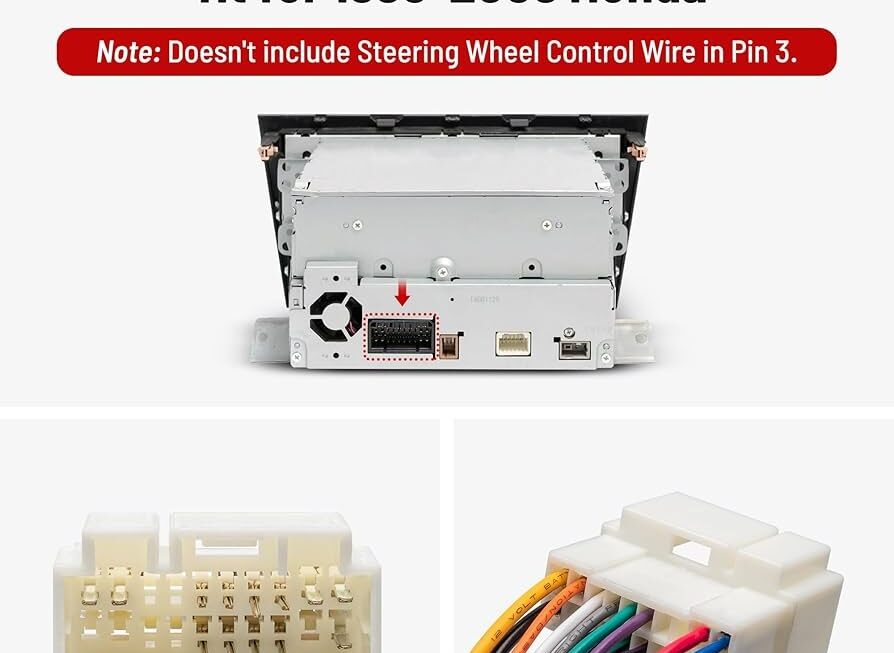
Download and Print Honda Civic Stereo Wiring Diagram Listed below

Related Post 3 Wire Led Light Bar Wiring Diagram