If you’re looking to install a Honeywell thermostat with 6 wires, you’ll need a wiring diagram to guide you through the process. Understanding how to connect each wire correctly is crucial for the thermostat to function properly.
It’s essential to have a clear understanding of the wiring diagram to avoid any potential issues or malfunctions. Following the diagram step by step will ensure that your thermostat is connected correctly and working efficiently.

Related Post 3 Wire Headlight Wiring Diagram
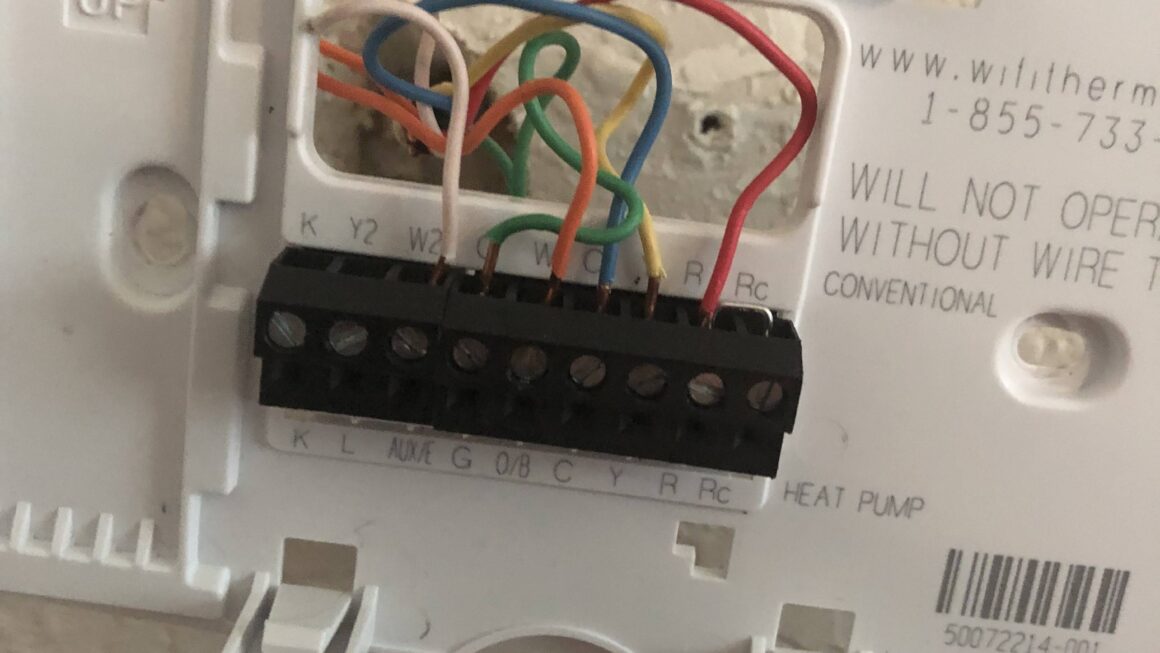
Identify each wire and its corresponding terminal on the thermostat. The 6 wires typically consist of the R, C, Y, G, W, and W2 wires. Each wire serves a specific function in the HVAC system, and connecting them correctly is paramount for the thermostat to operate efficiently.
Refer to the wiring diagram provided by Honeywell to determine the correct placement of each wire. The diagram will show you which wire goes to which terminal on the thermostat. Follow the diagram carefully to avoid any confusion or mistakes during the installation process.
After connecting all the wires according to the diagram, double-check your work to ensure everything is correctly in place. Once you’ve confirmed that the wires are connected properly, you can turn the power back on and test the thermostat to make sure it’s functioning as expected.
By following the Honeywell thermostat wiring diagram for 6 wires, you can easily install your new thermostat without any hassle. Proper installation is key to ensuring that your HVAC system operates efficiently and effectively. With the right guidance, you’ll have your thermostat up and running in no time!
Now that you have a better understanding of the Honeywell thermostat wiring diagram for 6 wires, you can confidently install your new thermostat and enjoy the comfort and convenience it provides. Remember to always refer to the diagram for guidance and follow the instructions carefully to ensure a successful installation.
Download and Print Honeywell Thermostat Wiring Diagram 6 Wire Listed below