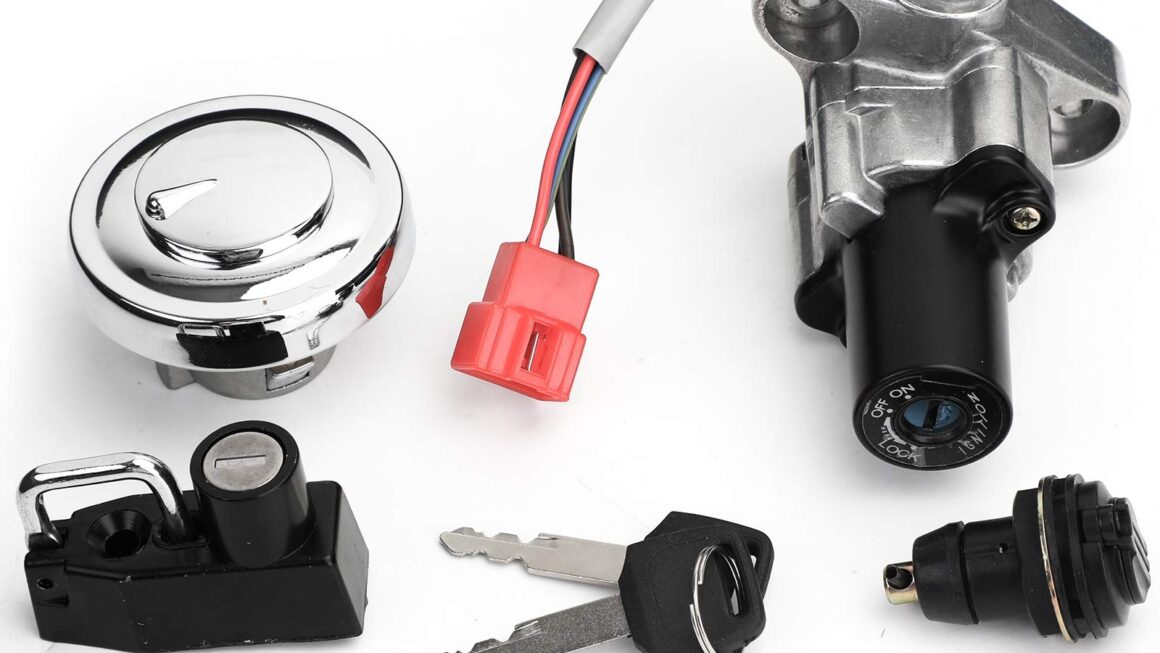
If you’ve been having trouble with the ignition wiring on your Yamaha Royal Star motorcycle, you’re not alone. Many riders struggle with understanding the key switch ignition wiring diagram and how to properly connect everything.
But fear not, we’re here to help break it down for you in simple terms. By the end of this article, you’ll have a better grasp of how to wire up your Yamaha Royal Star like a pro.

Related Post Electric Club Car Wiring Diagram
When looking at the wiring diagram, you’ll notice different colored wires that correspond to specific functions such as power, ground, and ignition. It’s crucial to follow the diagram closely to avoid any mishaps during the wiring process.
One common mistake many riders make is mixing up the wires or connecting them incorrectly. This can lead to issues such as a non-starting engine, electrical shorts, or even damage to the motorcycle’s electrical system.
To avoid these problems, take your time when wiring up your Yamaha Royal Star. Double-check each connection and refer back to the wiring diagram if needed. It’s better to be safe than sorry when it comes to your motorcycle’s ignition system.
Once you’ve successfully wired up your Yamaha Royal Star following the key switch ignition wiring diagram, give it a test run to ensure everything is working correctly. If you encounter any issues, don’t hesitate to seek help from a professional mechanic.
In conclusion, understanding the key switch ignition wiring diagram for your Yamaha Royal Star is essential for proper installation and functioning of the ignition system. By following the diagram closely and taking your time during the wiring process, you can ensure a smooth and trouble-free riding experience.
Download and Print Key Switch Ignition Wiring Yamaharoyal Star Wiring Diagram Listed below