Looking to install a new light switch in your home? Leviton 3-way switches are a popular choice for homeowners looking to upgrade their lighting controls. With the right wiring diagram, you can easily install these switches yourself.
Before diving into the wiring process, it’s important to understand the basics of a 3-way switch. These switches are commonly used in stairways, hallways, and large rooms where multiple switches control the same light fixture.

Related Post Carrier Air Handler Wiring Diagram
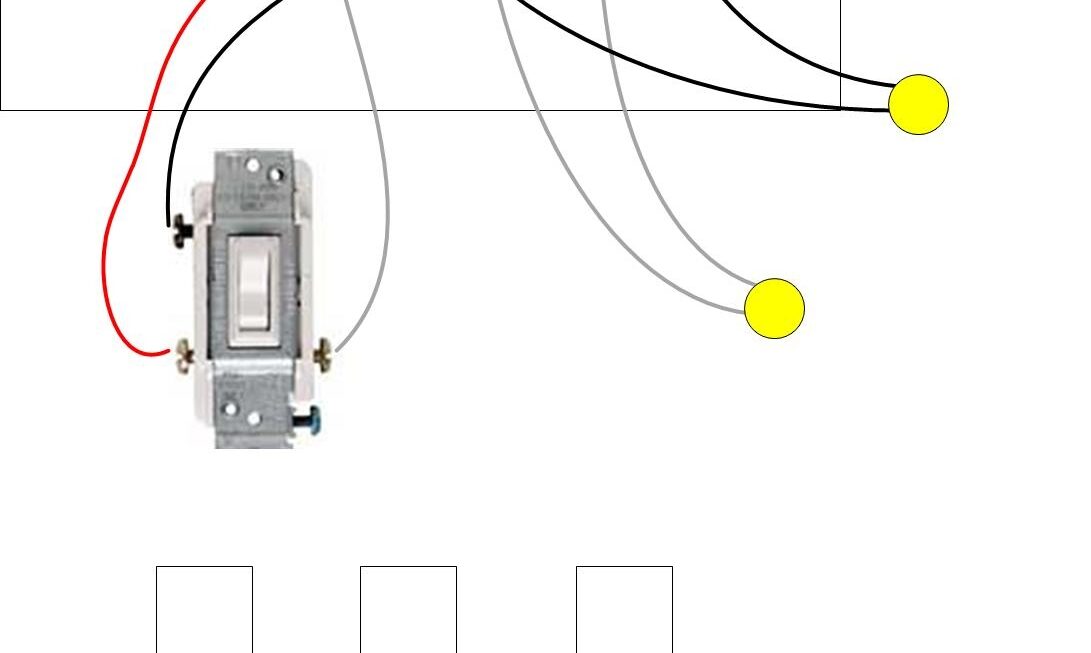
Next, carefully follow the wiring diagram provided by Leviton. Typically, you will have three wires to work with: a hot wire, a traveler wire, and a neutral wire. Connect these wires to the corresponding terminals on the switch, following the diagram closely.
Once all the wires are securely connected, carefully tuck them back into the electrical box and attach the switch to the wall. Turn the power back on at the breaker box and test the switch to ensure it is working properly. Congratulations, you have successfully installed your Leviton 3-way switch!
Remember, safety always comes first when working with electricity. If you are unsure about any part of the installation process, it’s best to consult a professional electrician to avoid any accidents or damage to your home.
In conclusion, installing a Leviton 3-way switch is a simple and cost-effective way to upgrade your lighting controls. With the right wiring diagram and a little bit of know-how, you can easily tackle this DIY project and enjoy the convenience of a well-lit home.
Download and Print Leviton 3 Way Switch Wiring Diagram Listed below