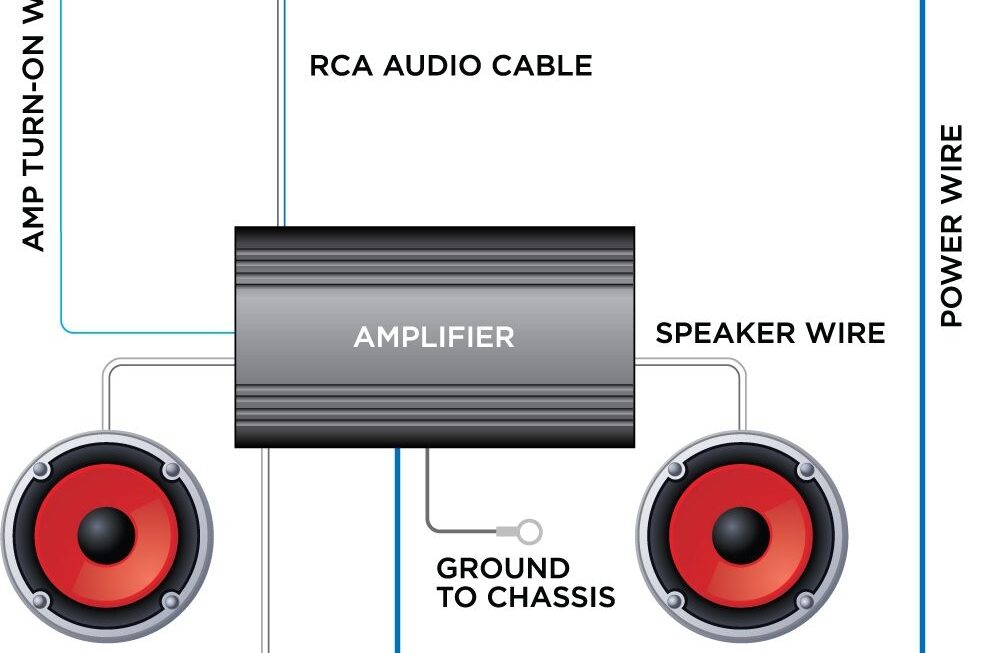
If you’re looking to upgrade your car’s sound system, you may need a Metra Line Output Converter. This handy device allows you to connect your aftermarket amplifier to your factory stereo without losing sound quality.
Installing a Metra Line Output Converter is a relatively simple process, but it’s important to have a wiring diagram on hand to ensure everything is connected correctly. In this article, we’ll provide you with a detailed Metra Line Output Converter wiring diagram to help you with the installation.

Related Post Wiring Diagram For Electric Brakes On A Trailer
1. Locate the factory stereo in your car and identify the speaker wires that you’ll be tapping into. Refer to the wiring diagram to determine which wires you need to connect to the Line Output Converter.
2. Use the wire strippers to carefully strip away a small portion of the insulation from each of the speaker wires. Be careful not to cut the wires themselves, as this could cause a poor connection.
3. Connect the stripped ends of the speaker wires to the corresponding inputs on the Line Output Converter. Make sure to match the positive and negative wires correctly to avoid any issues with sound quality.
4. Once all the connections have been made, use electrical tape to secure the wires and prevent any potential shorts. Ensure that all connections are tight and secure before reassembling your car’s stereo.
By following this Metra Line Output Converter wiring diagram, you can easily upgrade your car’s sound system and enjoy high-quality audio without any hassle. If you have any questions or need further assistance, don’t hesitate to reach out to a professional installer for help.
Upgrade your car’s audio system today with a Metra Line Output Converter and experience music like never before!
Download and Print Metra Line Output Converter Wiring Diagram Listed below